Zentyal is a very powerful Business Server solution with features like Office Server (Mail, IM, File/Printer Sharing, LDAP), Infrastructure Server (DHCP, DNS, FTP, Web Server) and Gateway Server (HTTP Proxy, VPN, IDS, RADIUS, Traffic Monitor) etc.
My personal experience is more about setting up Zentyal as Gateway. As a Gateway, Zentyal provides a very easy way to set up very powerful features like HTTP Proxy, Caching, Monitoring the traffic from the connecting system in the network and deploying Authentication system.
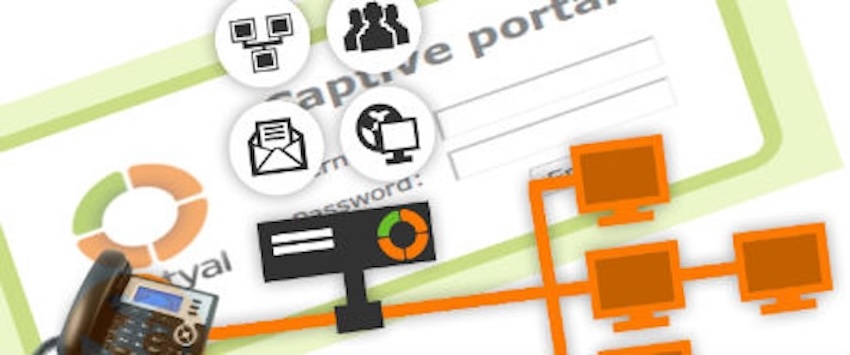
Capital Portal is another useful service offered by Zentyal. Which allows to control the access through internal interfaces. It can be used to limit/monitor the amount of bandwidth used by all users or a group of user in the network. To Monitor and Restrict usage, capital portal enforces the gateway portal login on network users, which forbids devices like VoIP Phones and Wifi Routers from using the network gateway for internet.
This post provides a step-by-step procedure to configure Zentyal gateway, which lets VoIP devices to bypass portal login to access internet via Gateway Server.
1. Create a new network object “VoIP Phone” from Zentyal Dashboard under Network > Objects Section. This Object will basically represent the Group of VoIP phone you want to exempt from capitive portal login.


2. Add members(individual phones) in Object by clicking Add Member button besides Object name. You can also add MAC address of phones, which is usually displayed during device bootup.

3. Go to Capitive Portal from Zentyal Dashboard and add a new Exception.

4. Add recently created object “VoIP Phone” in exception list.

5. This should exempt all VoIP devices in your network from Gateway login.
One last thing that you might want to make sure after this setup is, none of the other device in your Network is assigned the same IP as assigned by you to VoIP phones while adding Members in object. To avoid conflict just change the range of IPs to be assigned using DHCP, from Network > Interface Section. For example, In case you have assigned IPs from 192.168.0.2 to 192.168.0.19 to your IP Phones then just change DHCP range from 192.168.0.20 to 192.168.0.255.